
Apsis One Configuration
Last updated on 16-02-2024
Apsis One Configuration
Begin by accessing the Apsis One Administration, which can be found by clicking on the SuperOffice logo in the top left corner, and then the ‘Apsis One Settings’ panel.
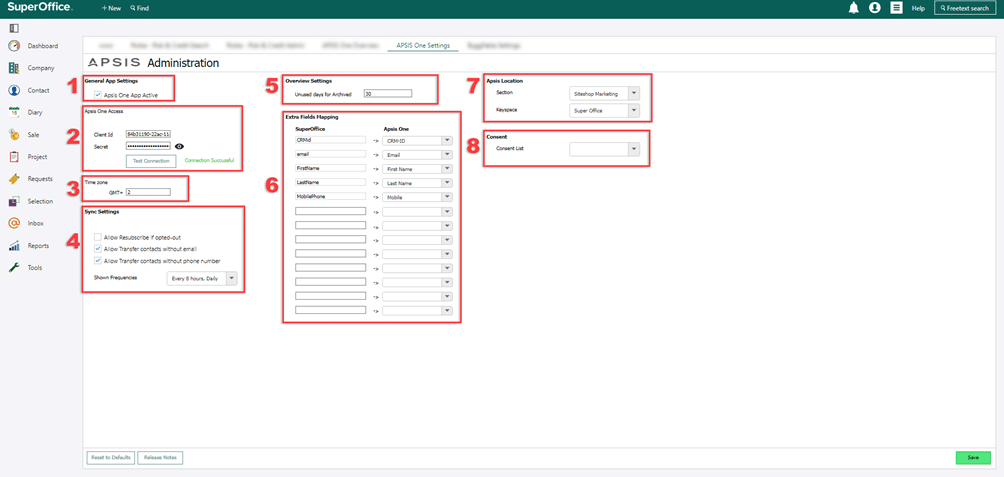
1. General App Settings
This box needs to be enabled for the app to be used.
2 Apsis One Access
This is the API information you receive from Apsis, which is used for the connection between your CRM system and Apsis. You can test if there is a connection by clicking on ‘Test Connection’, after which it should display ‘Connection Successful’ in green text, as illustrated in the first picture.
3 Time Zone
Specify the time zone for your Apsis One based on GMT, adding hours to GMT using numbers. For example, as shown in the picture, where 2 hours have been added to GMT.
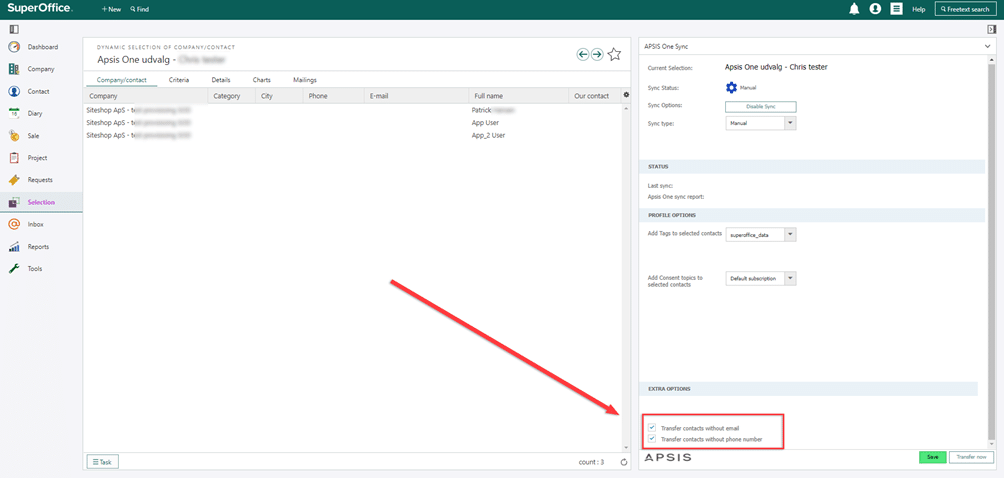
4. Sync Settings
When selecting these Sync Settings, users who do not have the usual information such as email and phone numbers will also have the opportunity to be transferred to Apsis One.
5 Overview Settings
x
6 Extra Field Mappings
This field displays the fields that need to be exported from SuperOffice and imported into Apsis One, and it is important that they have matching meanings, otherwise, you will end up with unstructured and somewhat chaotic data in Apsis One.
There are several fields before the 5 shown in the picture above the configuration, which can be seen here.
7. Apsis Location
x
8. Consent
x